Create Account with Melp
To unlock everything Melp has to offer, you’ll need to create an account.
It’s quick, easy, and your first step toward smarter communication, seamless collaboration, and next-level productivity — all in one place.
When you sign up, Melp automatically recognizes what kind of user you are, so you get the experience that fits you best.
Business User
Signing up with your company domain (like you@yourcompany.com)?
You’ll be automatically connected to your organization’s workspace, or a new one will be created for your team.
Business accounts make it easy to connect with co-workers, and promote real-time collaboration. Easily schedule meetings, brainstorm ideas- all in one shared space.
Individual User
Signing up with a personal email like Gmail or Yahoo? You’re all set to explore Melp for personal use.
Individual users can build their professional network, connect with people who share similar skills. Whether you’re teaming up on projects, exchanging ideas, or expanding your expertise, Melp gives you the tools to stand out and stay connected with the right people — all in one place.
How to Sign Up for Melp
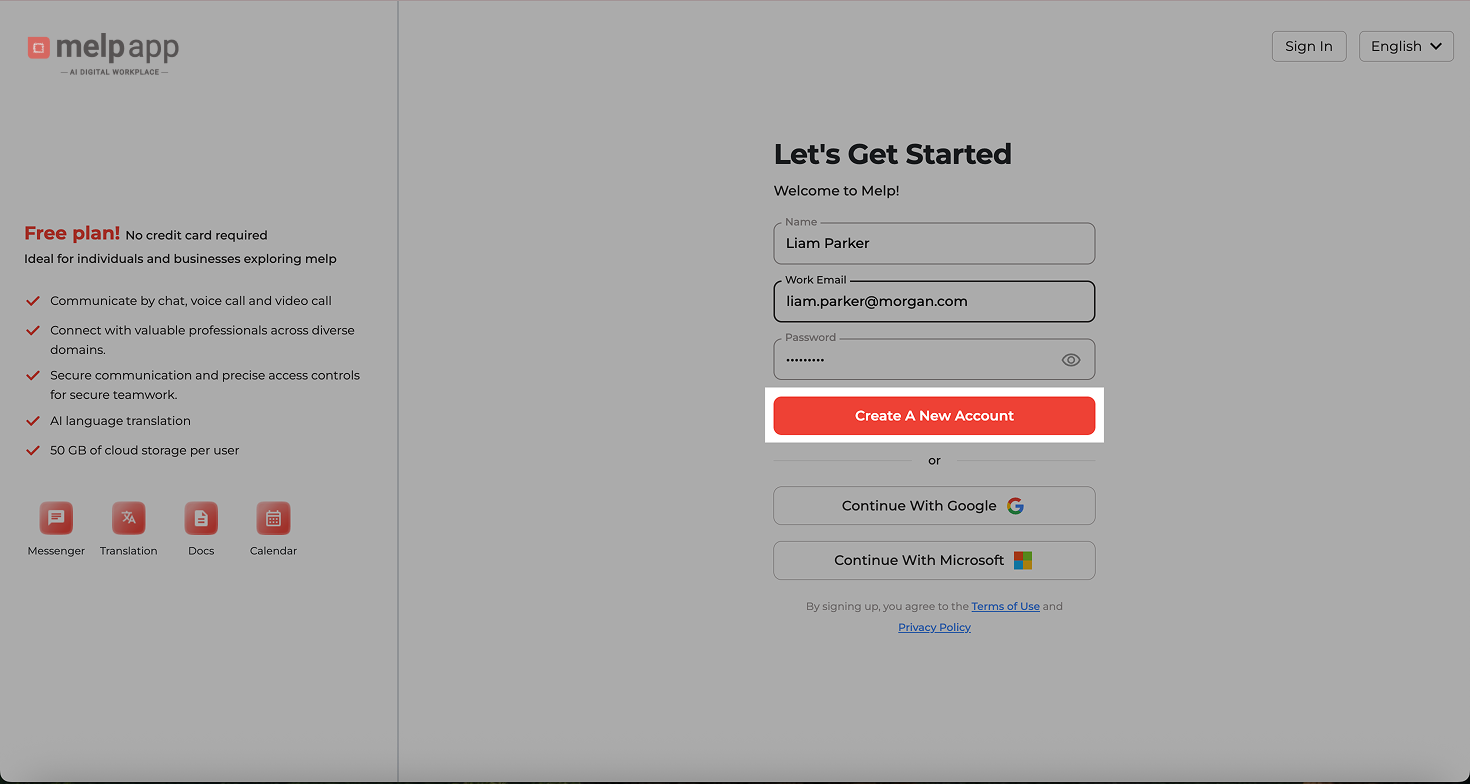
- Go to www.melp.us in your browser and click “Try For Free” to begin the signup process.
- Type in your Full Name and your Work or Personal Email Address (Gmail, Yahoo, or company domain).
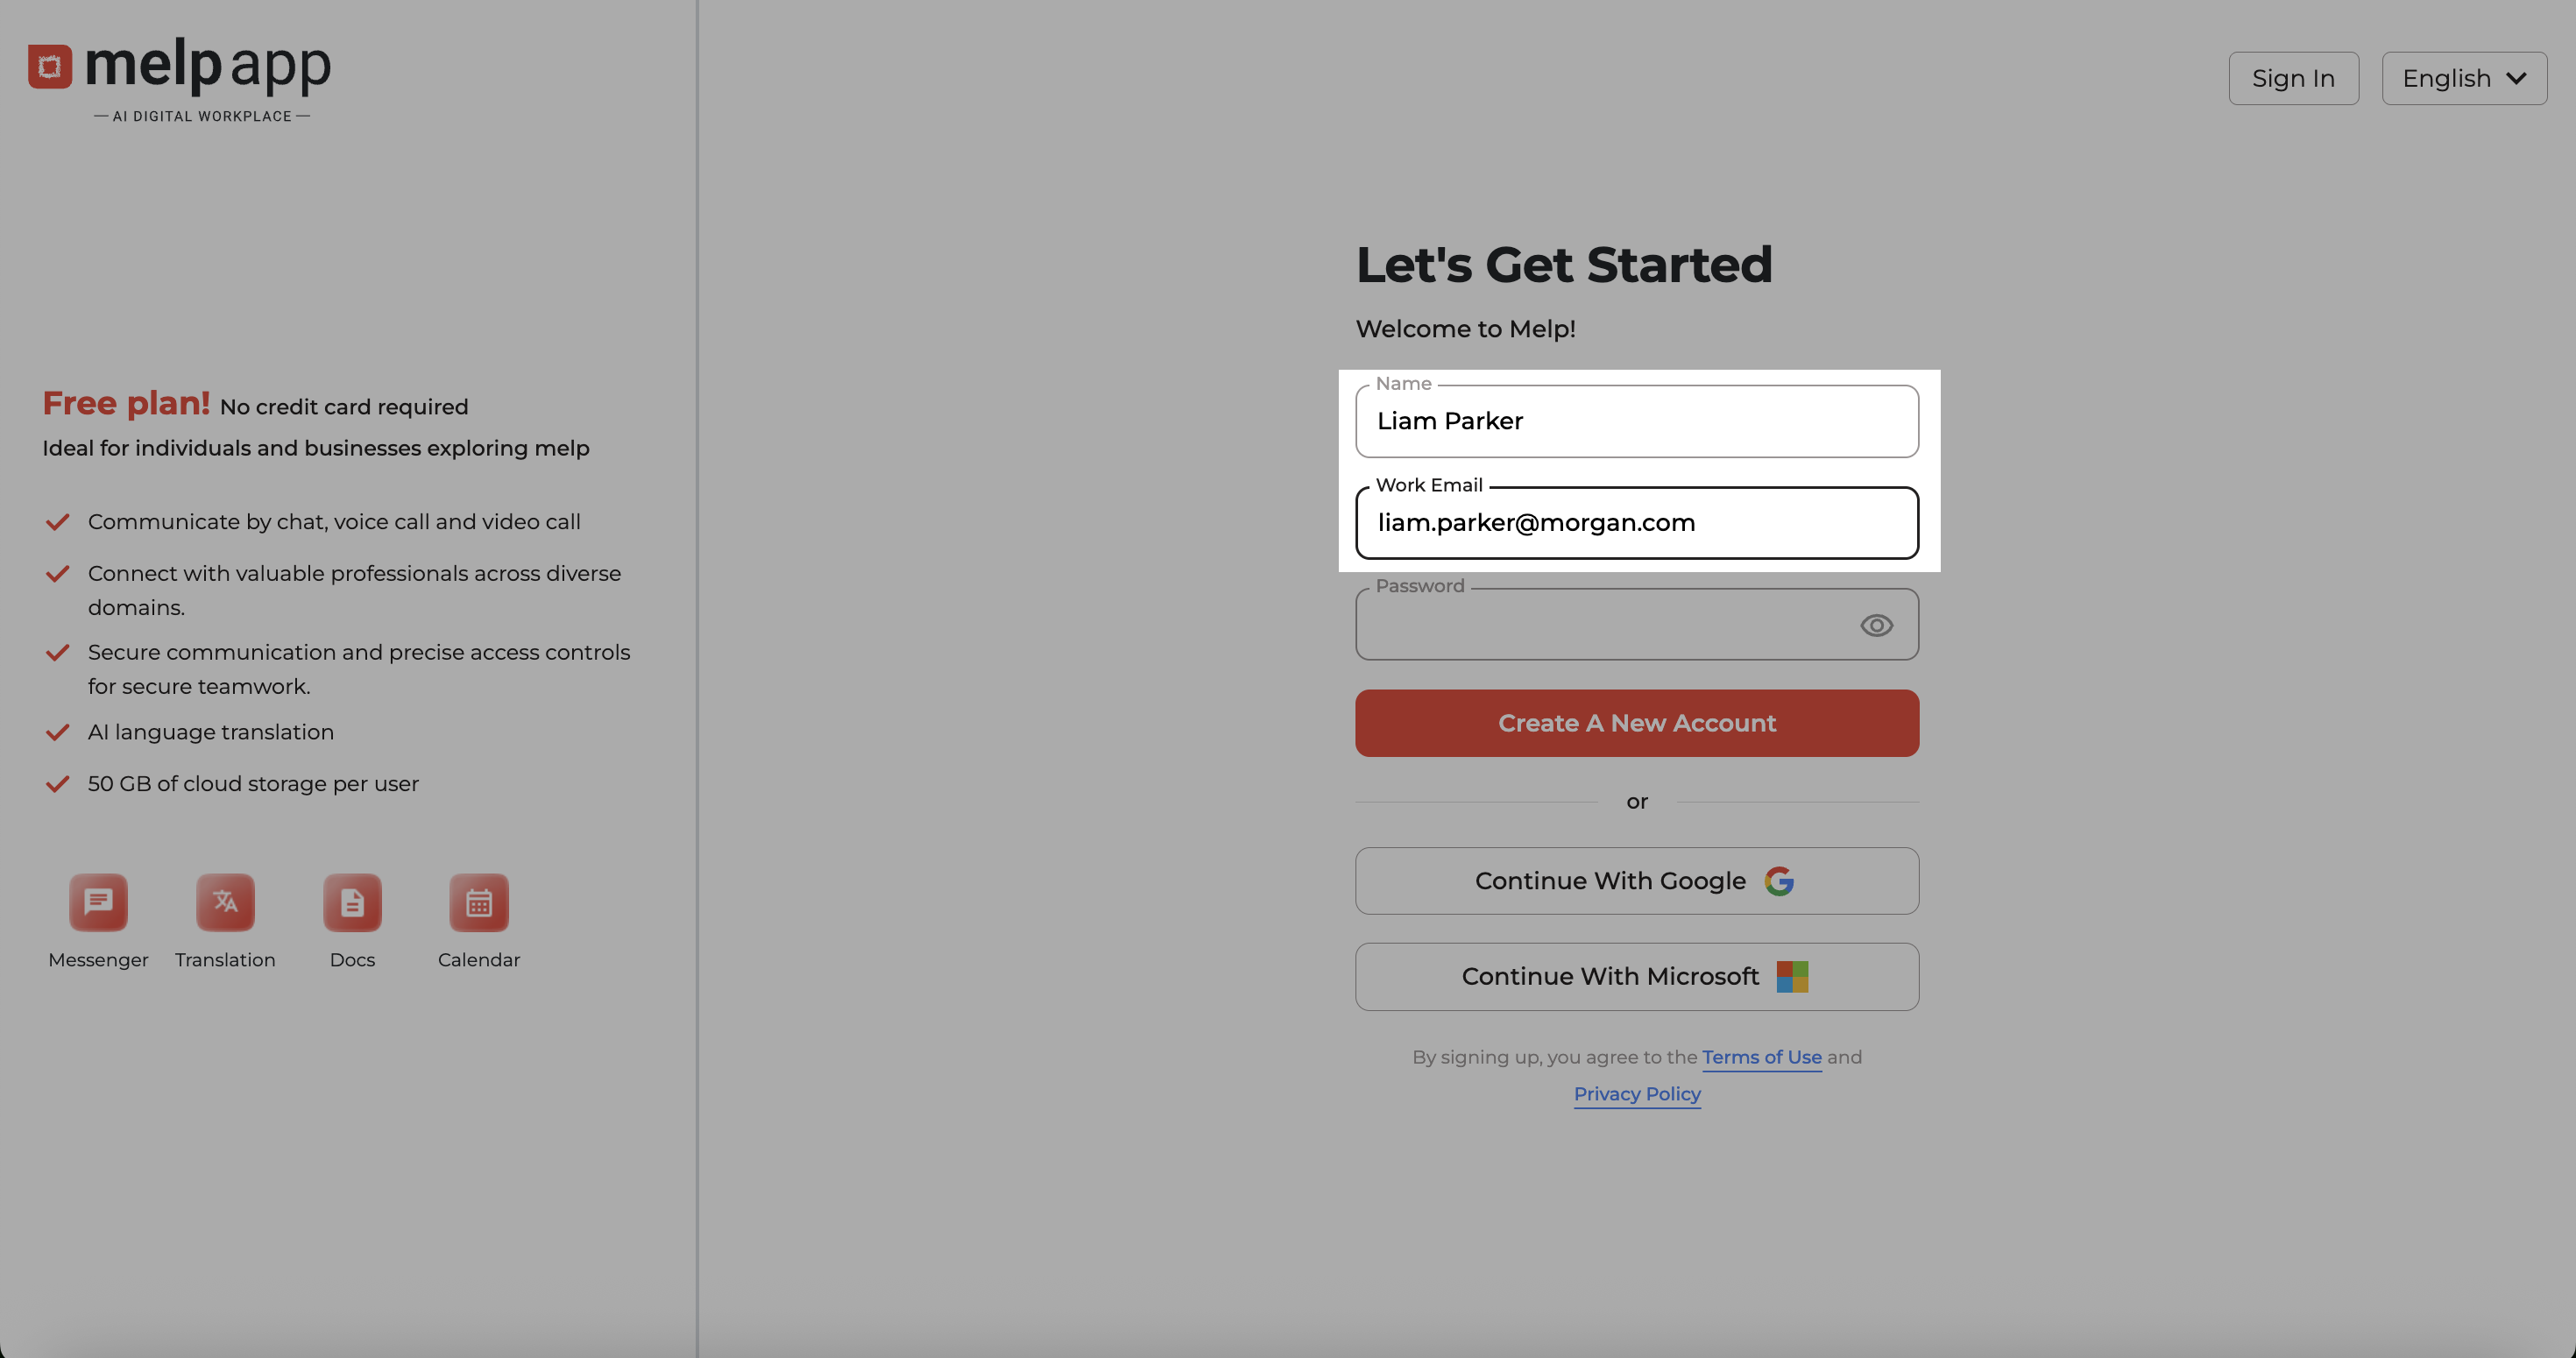
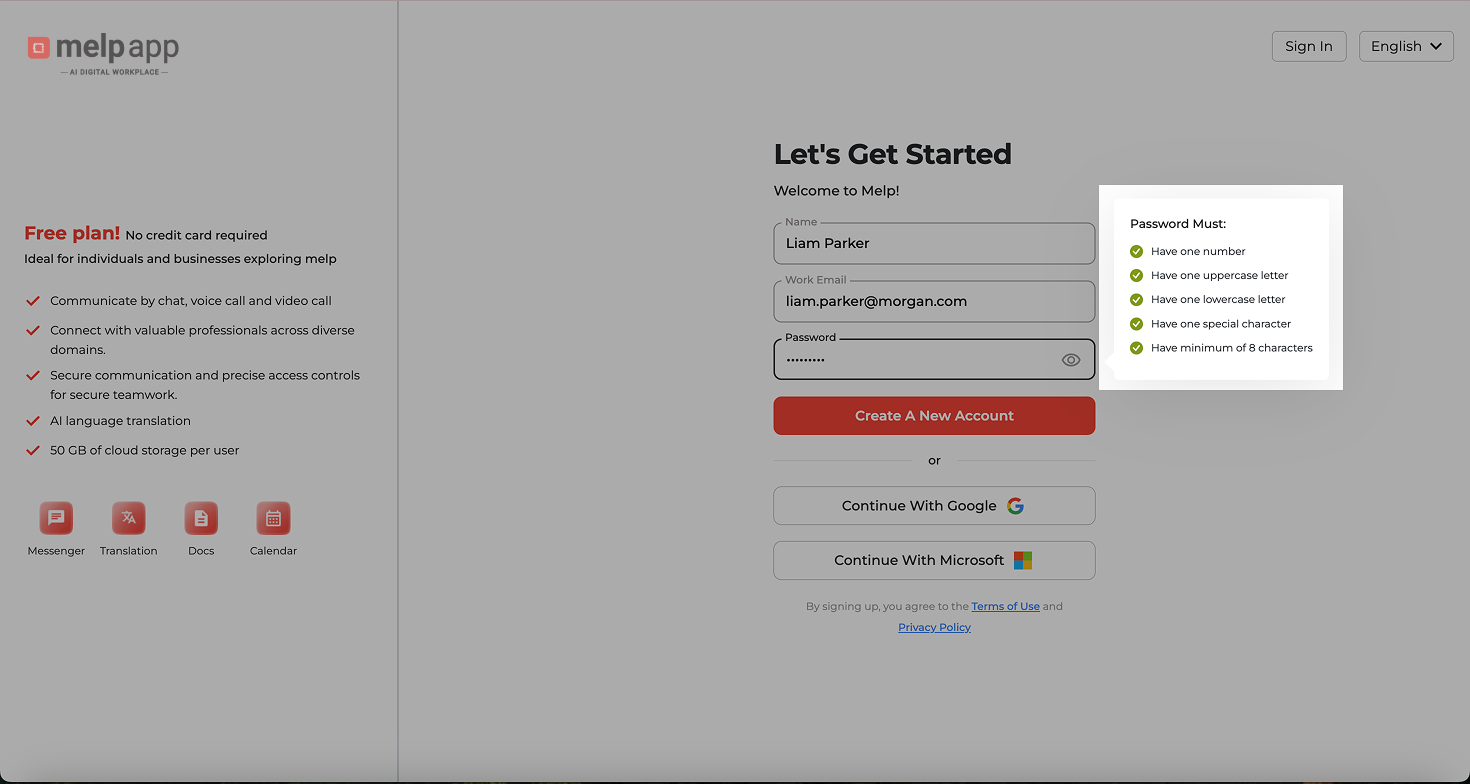
- Set a strong password to keep your account safe.
- Click on CREATE ACCOUNT.
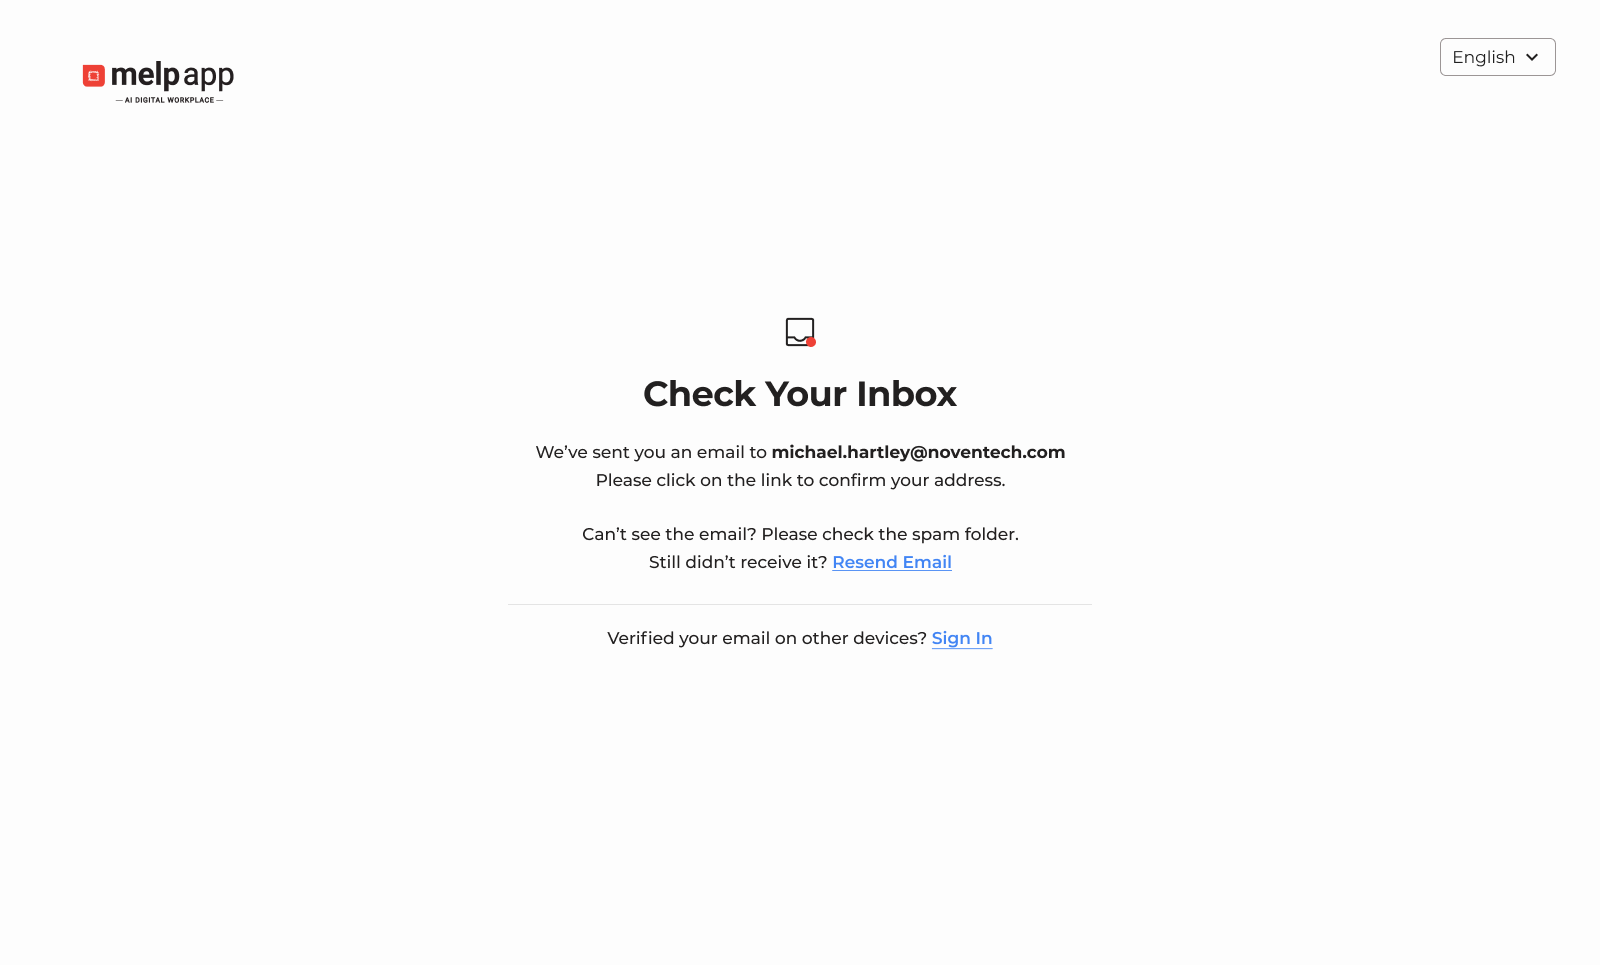
- Check your inbox for a verification email from Melp. Click the link inside to verify your account.
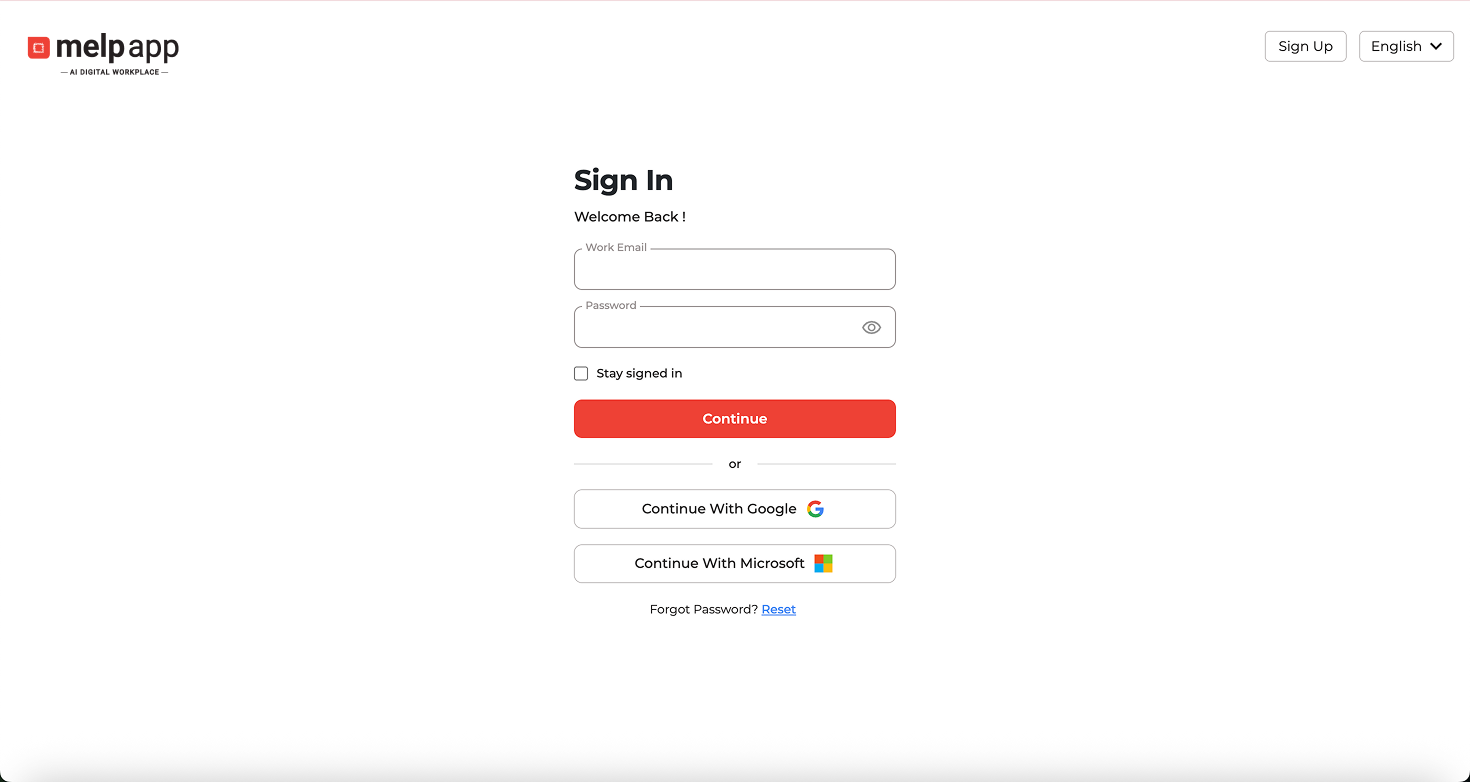
Sign Up with Google or Microsoft
Creating a Melp account is quick and easy. Whether you're using a work email or a personal account, you can get started in just a few clicks using Google or Microsoft.
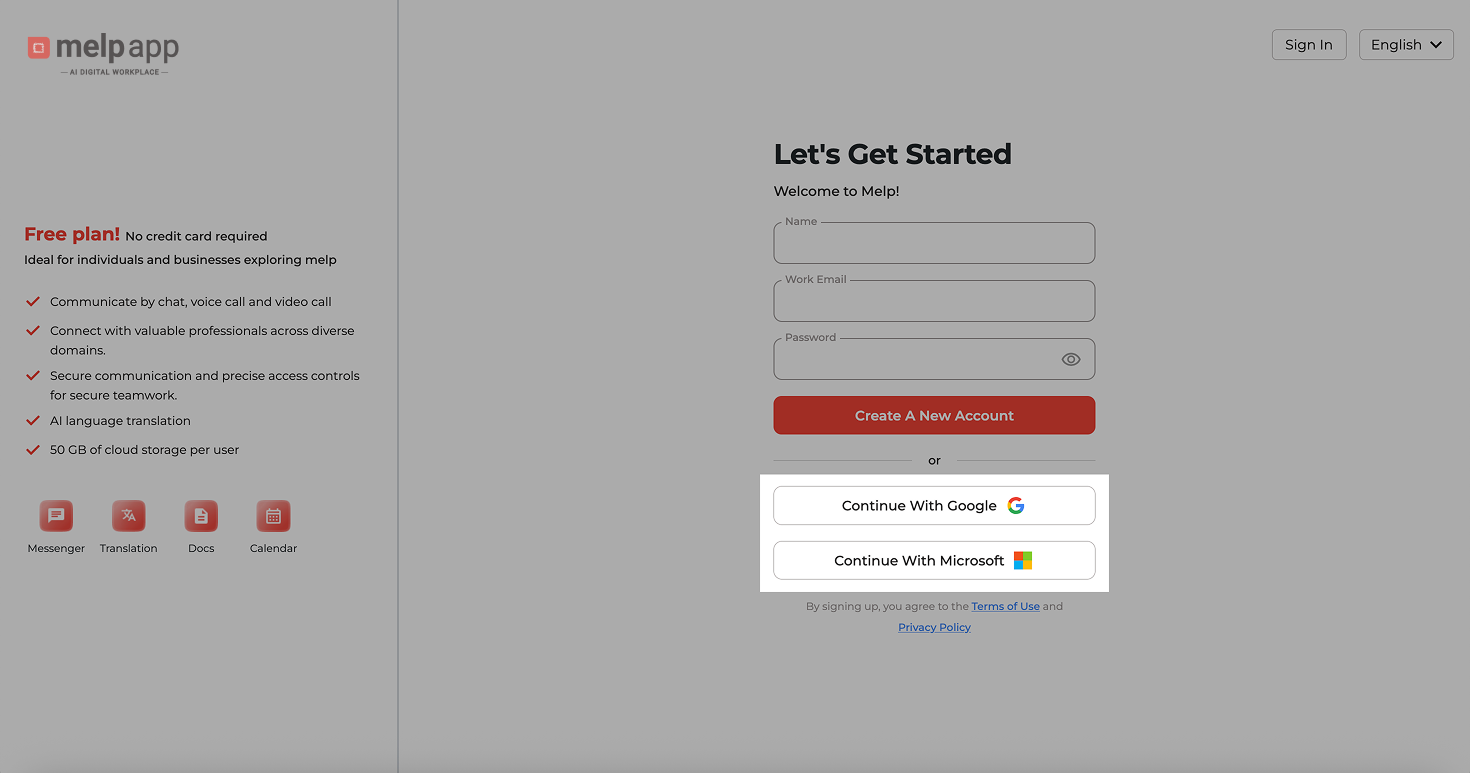
- Visit www.melp.us and hit the “Try for Free” button to begin the sign-up process.
-
Choose a Sign-Up Option and select your preferred method:
-
Continue with Google
- Continue with Microsoft
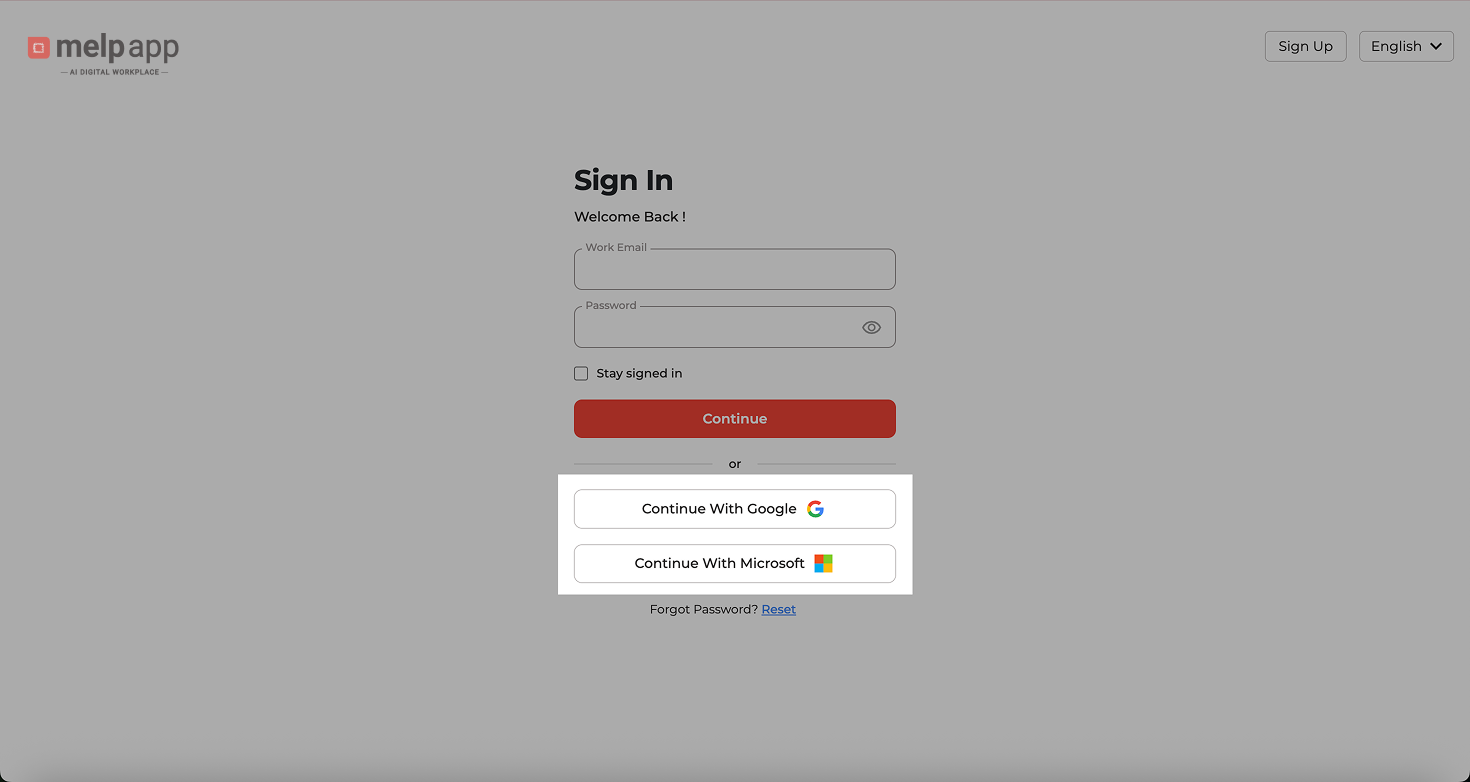
- Sign in with your Google or Microsoft credentials. Approve the requested permissions to continue.
Complete Your Business Profile & Start Building Your Network
Once you're signed in, it's time to set up your workspace and start making connections.
- Add your Company Name, Department, Job Title, and Work Location to personalize your experience and get better networking suggestions.
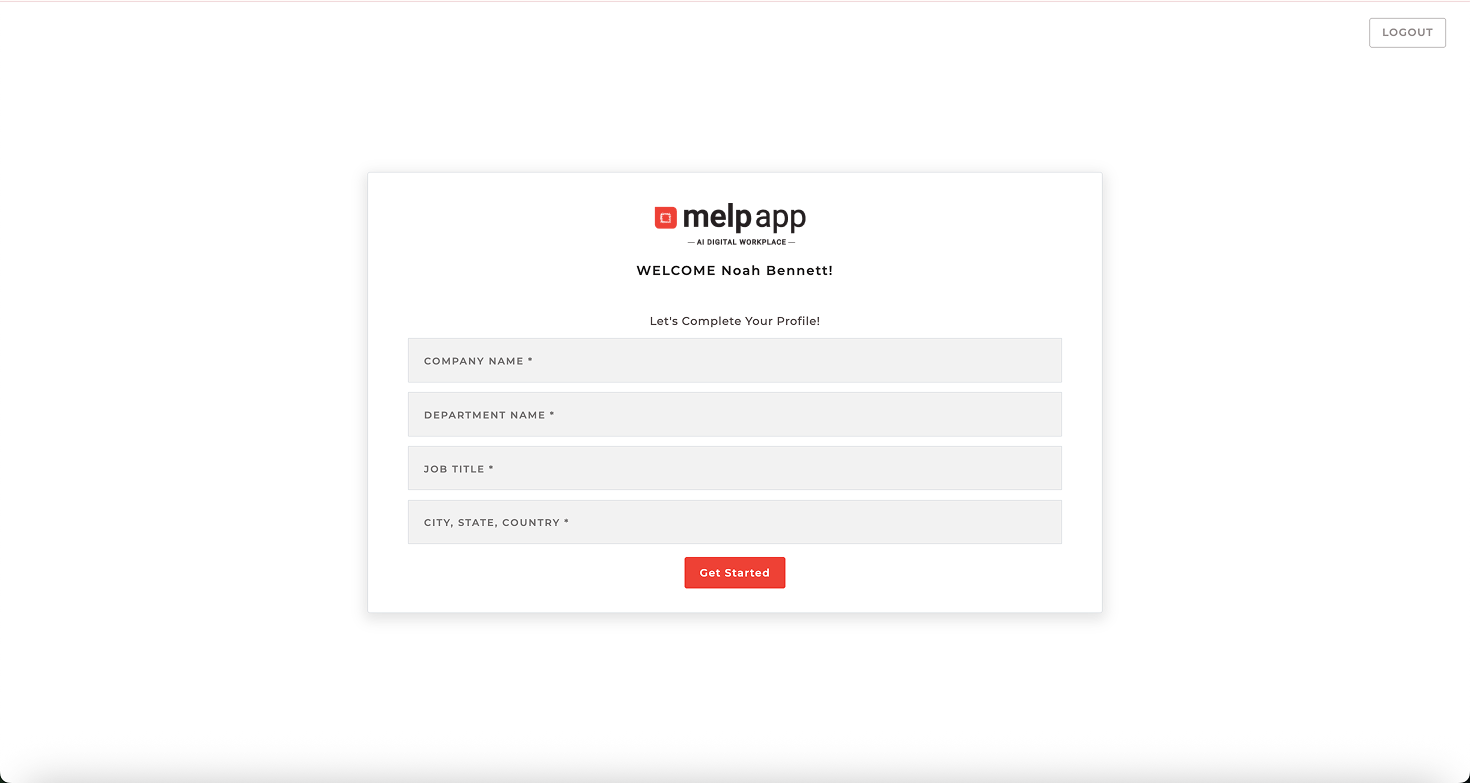
- Once your info is filled in, hit the “Get Started” button to move ahead.
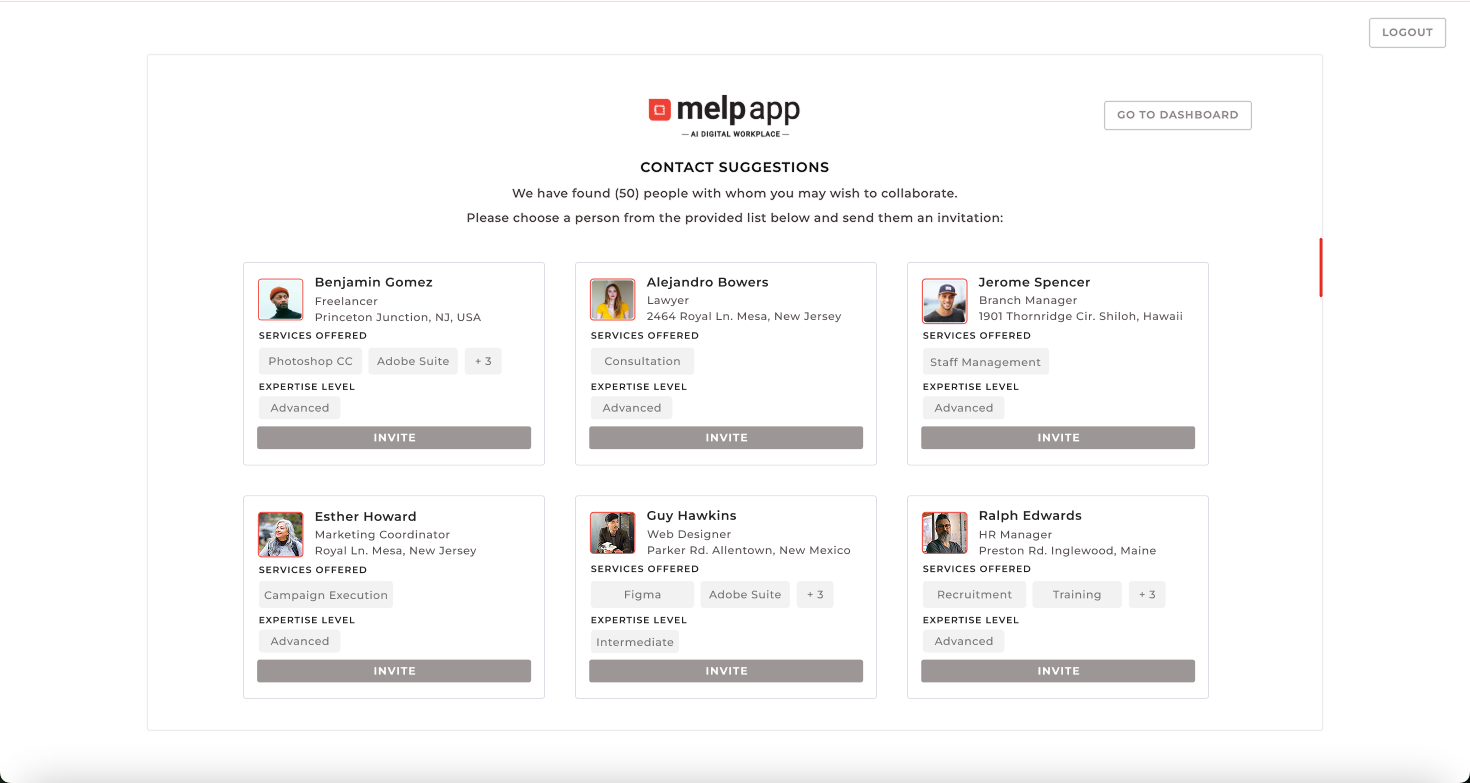
- On the next screen, you’ll see contact suggestions based on your job title, location, skills, expertise, or services offered and you can easily connect with professionals who match your interests and start growing your network from day one.
Set Up Your Individual Profile & Start Connecting
After signing up, it’s time to set up your Melp profile and kickstart your professional journey.
Whether you're a freelancer, consultant, or solo expert — Melp helps you connect with the right people, fast.
- Use your verified credentials (Google or email) to sign in to your Melp account.
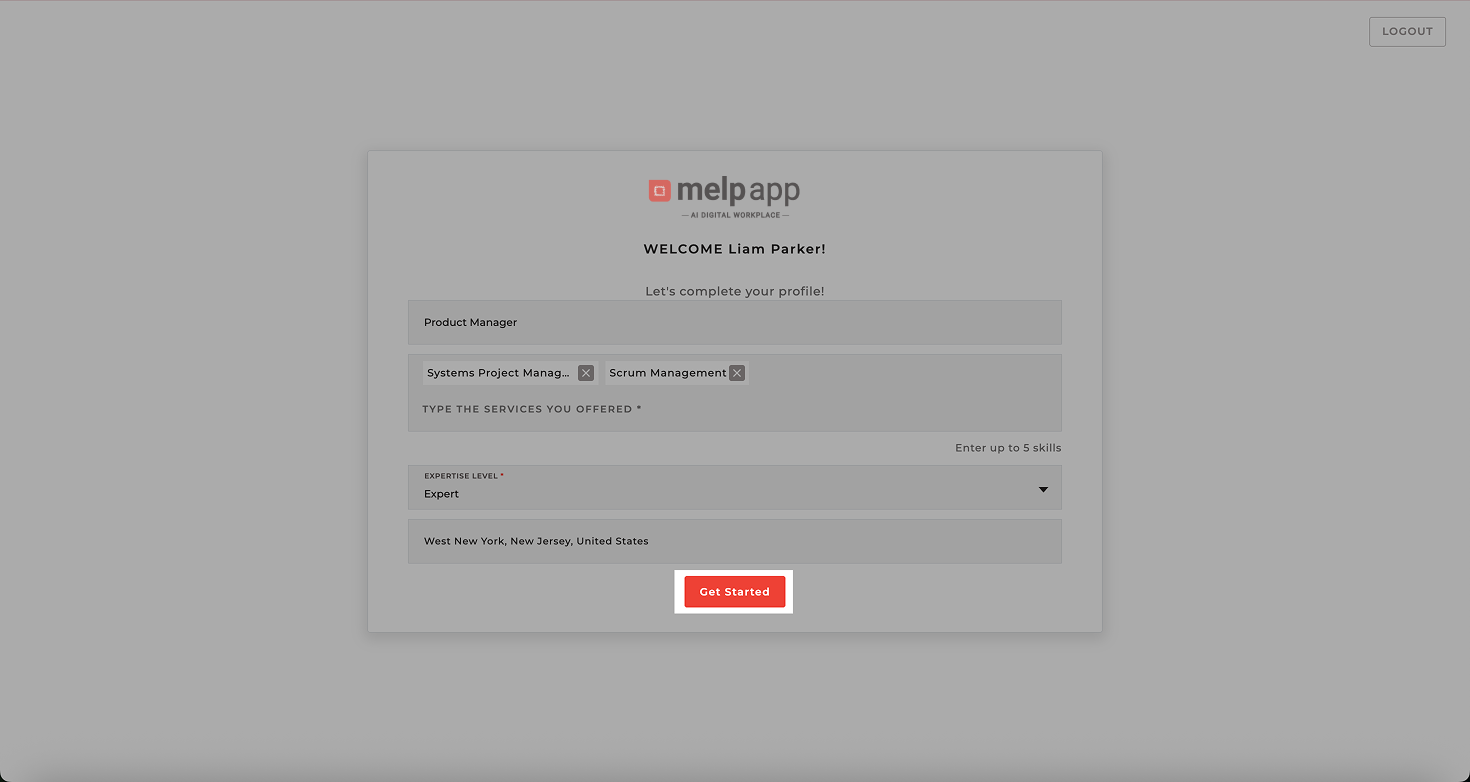
Add Your Professional Info
Tell us a bit about yourself to help Melp personalize your experience:
- What type of work you do (Freelancer, Consultant, etc.)
- The services you offer
- Your level of expertise
- Your location
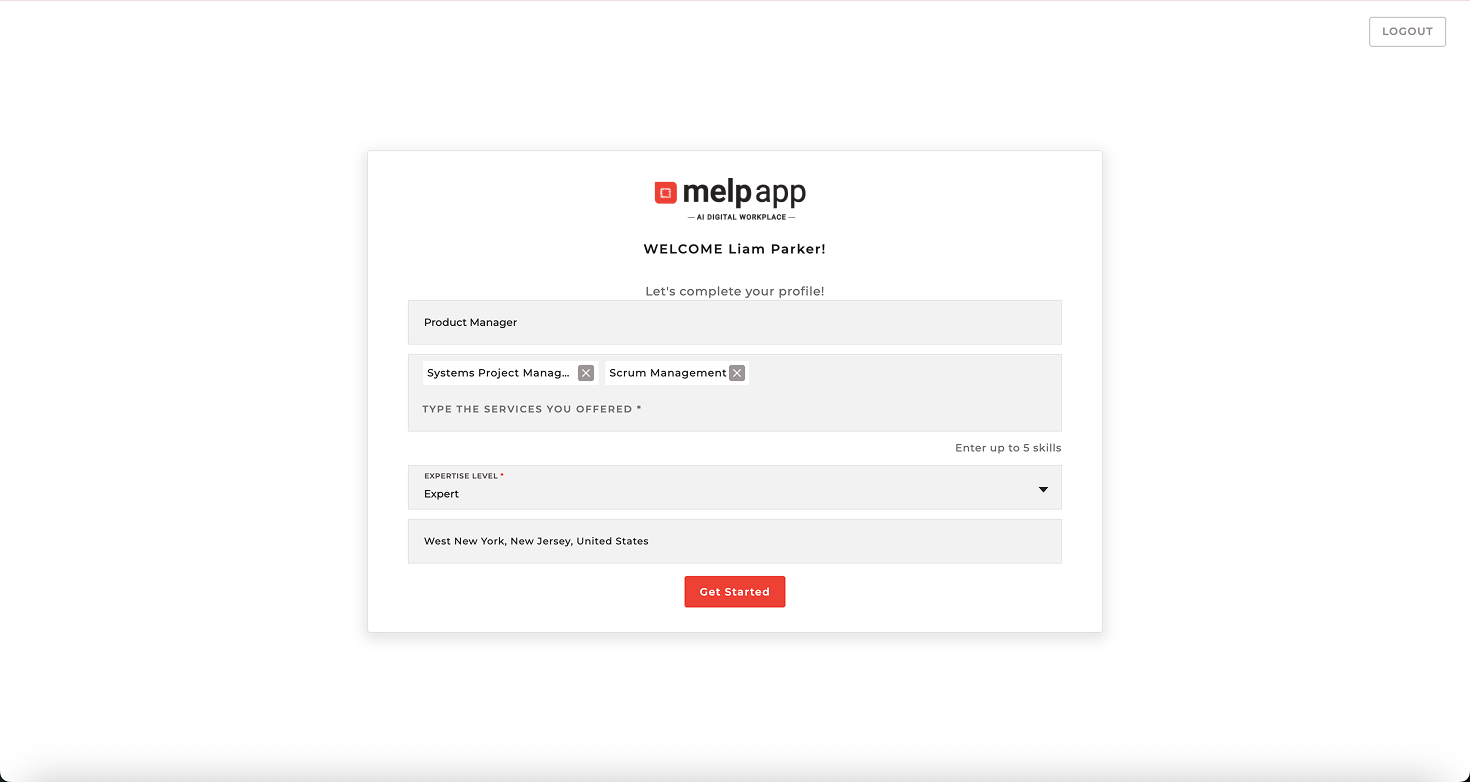
- Once everything’s filled out, click the “Get Started” button to continue.
- Next, you’ll see a list of suggested professionals based on your skills and expertise and you can invite people to connect and grow your network.
- Or simply click “Go to Dashboard” if you’d like to skip for now